I know that for many, fudge is a holiday treat usually indulged in during those sugary weeks between Thanksgiving and New Year's. I, however, have always associated it with the warmer months.
I blame this on my dad who has always been a fan of weekend trips, and who would often bundle us into the station wagon and drive us off to some random little town he'd read about in a guide book or magazine casually perused in a doctor's office waiting room. These towns--places like Piermont, NY, or Ocean Grove, NJ--were a haven for tourists with their little restaurants and main streets lined shops selling rosewater lotions and embroidered throw pillows.
Inevitably, there would also be a fudge shop. And this, I'm sure you already know, was always my favorite.
 No matter where you are, if there is fudge shop nearby, you'll know it. The aroma of chocolate fudge has this way of wafting out its quaint little shop--or more likely shoppe--doors and down the cobblestone paths crowded with weekend visitors.
As a child, I'd follow the familiar scent out of the candle stores and down the street stopping only when I reached the candy-filled windows. With my parents still a block or two behind, I'd barrel in, and walk right up to the front case where the fudge lay stacked in multi-hued slabs like some kind of magical candy quarry.
My dad would eventually wander in, and together we'd ooh and ahh and argue about what flavors to bring home. He always preferred the maple and cinnamon flavored treats; I always demanded the sweet and salty Rocky Road.
I admit that we rarely finished the box we brought home. As wonderful as six pounds of fudge sounds in theory, the reality is quite terrifying. My mother, blessed (or perhaps cursed) without a sweet tooth, would quietly dispose of the leftovers a day or two after the enthusiasm wore off. I'd fuss when I finally figure it out, but not much since the truth is that one can really eat that much fudge.

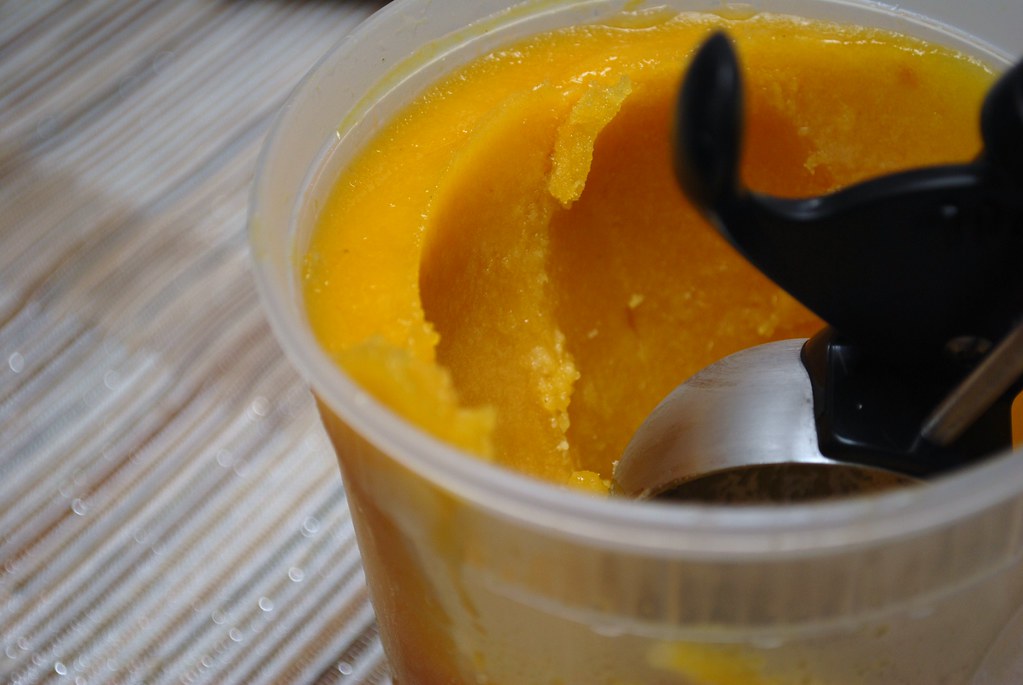
There are many methods for making fudge, but I'm fond of the classic condensed milk version. It's straightforward and can be assembled with just a few minutes of stirring on the stovetop. To cut the cloying sweetness of the original, I used a combination of semi-sweet and bittersweet chocolate, and added a generous tablespoon of Kosher salt. I prefer the roasted salted almonds, but you can substitute just about any nut you prefer. I think next time I'll give it a go with toasted hazelnuts!
****
New to Always Order Dessert? Consider subscribing to my RSS feed, follow me on Twitter, become a fan on Facebook, or sign up to receive my once-a-week e-mail updates by filling in your address in the box on the right. And if you ever need any entertaining or cooking advice, please don't hesitate to e-mail me. Thanks for reading!
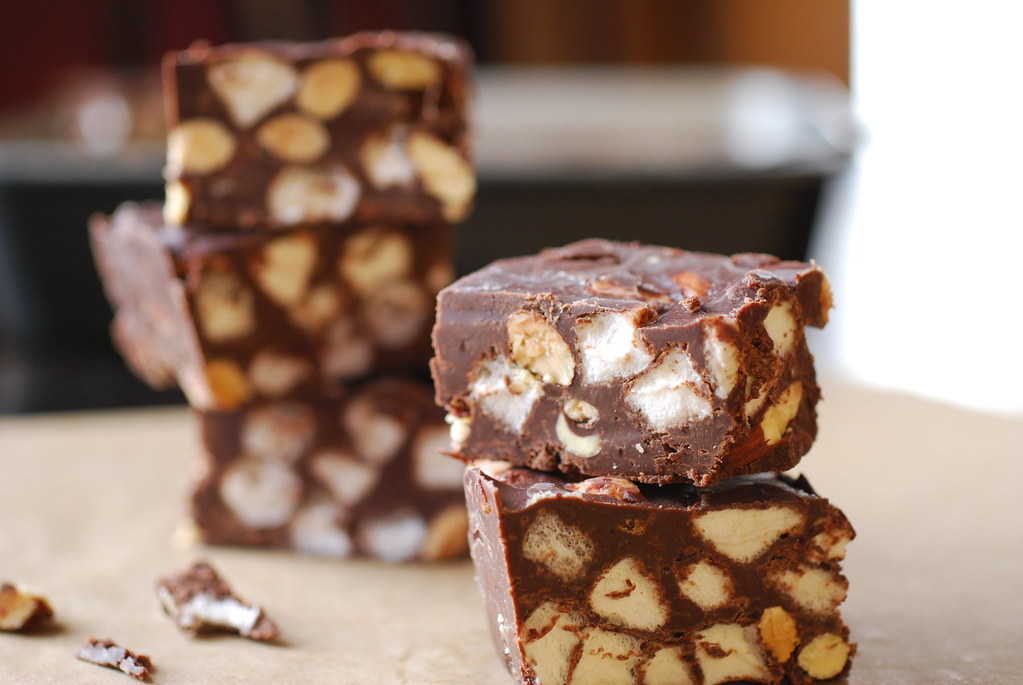
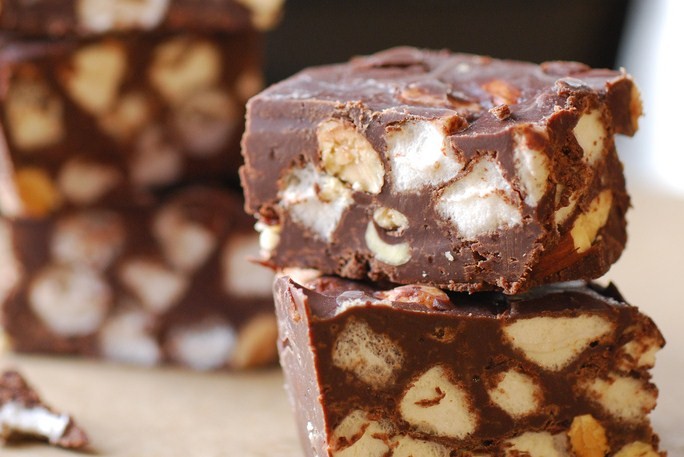
Salted Rocky Road Fudge
The extra salt in this classic recipe cuts the sweetness and makes this fudge utterly dangerous.
6 oz good quality bittersweet chocolate, chopped (I used Guittard discs)
8 oz semi-sweet chocolate, chopped (I used Ghirardelli)
14oz (1 can) sweetened condensed milk
2 tablespoons butter
1 teaspoon vanilla extract
1-2 teaspoons flaky Kosher salt (use more or less, depending on how sensitive you are to salt)
2 cups miniature marshmallows
1.5 cups roasted salted almonds, whole
Special equipment: 1 9" square baking pan
Directions
Coat bottom and sides of baking pan with butter or cooking spray and line with a long sheet of parchment paper that overlaps the sides. Set aside.
In a medium sized saucepan, combine the two kinds of chocolate, the condensed milk, and the butter. Set over medium-low heat, and stir until the chocolate is melted. Add the extract and salt, and then fold in the marshmallows and almonds.
Pour the warm mixture into the prepared baking pan and spread evenly. I like to use my hands to press down into the pan until it is all pressed in and relatively even.
Cover with a sheet of parchment paper and let chill in the fridge for 2 hours.
Remove from fridge and lift parchment paper to remove from pan. Use a sharp knife to cut into desired-sized portions before serving. Can be stored in an air-tight container at (cool) room temperature for 7-10 days.