I did my best to warm the place up with food. Cranking up the oven to roast any roast-able vegetables I could find in the fridge.
I also put a pot of soup on the stove, and made mug after mug of coffee, only getting through about a third of each one before it turned too cold to drink.

(Seriously, it was the saddest/cutest thing ever. A shivvering doggy!)
He got the super to come and check things out and by that night the heat was working again (actually I'm sitting here typing this with the windows open, because it's now working a little TOO well. ::sigh::).

****
Love Always Order Dessert? Let's connect! Follow me on Twitter, Instagram, or Pinterest, become a fan on Facebook, or sign up to receive my once-a-week e-mail updates. And if you ever need any entertaining or cooking advice, please don't hesitate to e-mail me. Thanks for reading!
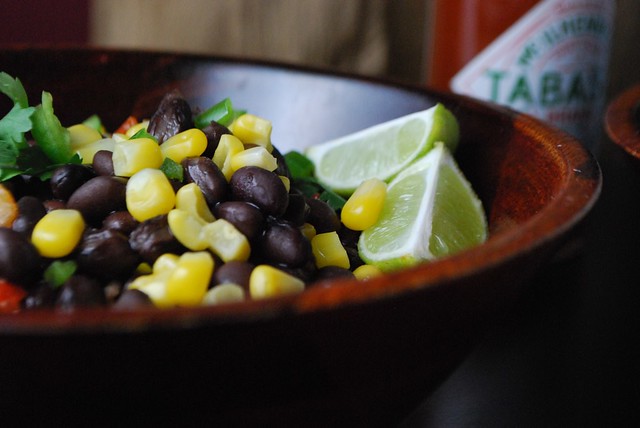
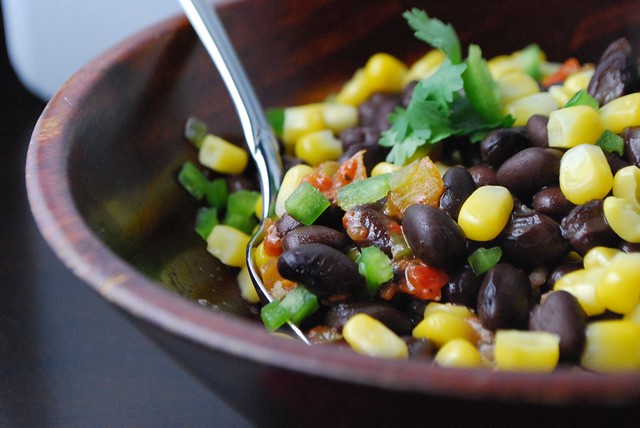
Spicy Cocoa Black Bean Soup
Serves 8
Ingredients
2 tablespoons olive oil
1 large yellow onion, diced
2 red bell peppers, diced
2 stalks celery, finely sliced
3 garlic cloves, minced
1 tablespoon ground cumin
1 teaspoon ground coriander
2 teaspoons ancho chile powder
1/4-1/2 teaspoon ground cayenne (add more or less depending on how much spice you like)
2 tablespoons cocoa powder
3 15oz cans low-sodium black beans, rinsed and drained
4 cups low-sodium chicken or vegetable broth
1 cup frozen corn (optional)
Kosher salt and black pepper
1 cup chopped cilantro
Directions
Heat the oil in a large, heavy pot over medium heat. Add the diced onions, peppers, and celery and sauté 5 minutes, until soft.
Add the garlic and sauté 1 minute, until fragrant.
Add the cumin, coriander, ancho chile, cayenne, and cocoa powder, and stir to combine well and coat all the ingredients.
Add the black beans and the broth, and bring to a boil for 3 minutes. Lower heat, partially cover (so some steam can escape), and let simmer gently for 20 minutes.
Note: if you like a creamier soup, at this point you can puree about 1/3 of the soup using a stick blender or by removing a portion of it to your blender. If not, skip this step.
Stir in the corn and season with kosher salt and black pepper, to taste. Let simmer uncovered for 3 minutes.
Remove from heat and stir in the cilantro, reserving some to sprinkle on top.