The night after our lunch, I found myself laying in bed thinking about those caramels. I'd already eaten the extra one in my purse (it barely made it back to the office) and proceeded to spend the rest of the night plotting my next trip, wondering if I would be able to slip away during lunch the next day for a repeat meal.

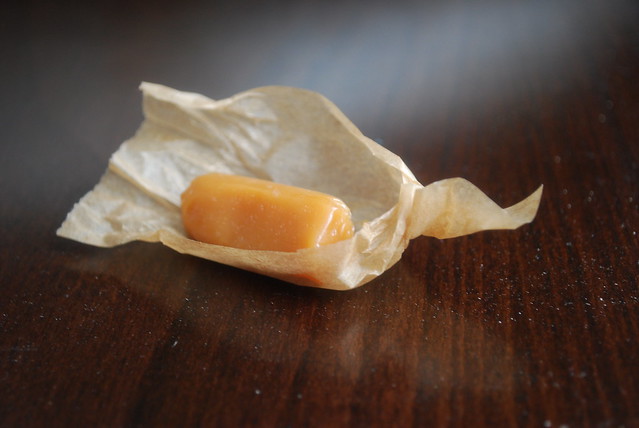
Morning light made me realize just how impractical it would be to pay for an entire lunch simply for a handful of complimentary caramels, so I decided that I would just have to make them myself. Cobbling together various classic caramel recipes, I tweaked and stirred until I finally fell upon the one that seemed closest to the buttery, chewy treats I remembered.
This recipe is actually quite easy. You need a candy thermometer, of course, but other than that, it's really just a bit of occasional stirring and patience. The hard part comes at the end, once the caramel has been cooled and cut into (semi) uniform pieces; that's when you'll have to sit and wrap each individual piece for hours.
I made mine early on a Sunday evening and then proceeded to sit on the couch cutting and wrapping caramels straight through an episode of Rubicon (my new favorite), then Mad Men, then immediate encore of Mad Men, followed by the first half of the encore of Rubicon. Yes. That would be 3.5 hours of wrapping caramels.
It's easy, but tedious. Fortunately, you're guaranteed to consume every third piece (at least during the first hour) so you'll have enough of a sugar rush to get you through the whole batch. If possible, I recommend recruiting the aid of a friend or child (preferably not a diabetic one).
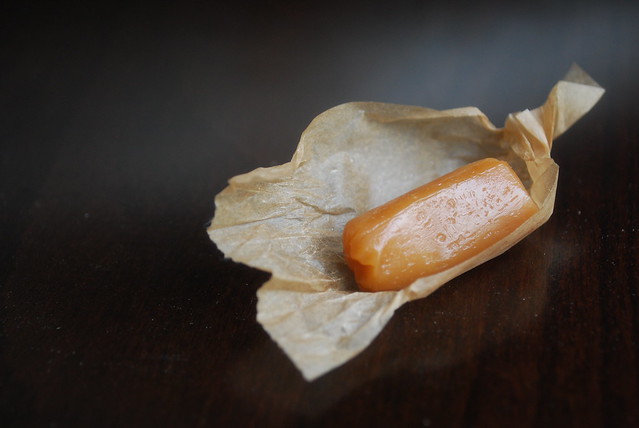
Another tip: cutting the caramel into pieces might seem impossible (and sticky) but I found that it's really easy if you use a pair of clean kitchen shears. Just snip and wrap! And don't worry if the pieces aren't all uniform; that, I think, is part of the charm.
****
New to Always Order Dessert? Consider subscribing to my RSS feed, follow me on Twitter, become a fan on Facebook, or sign up to receive my once-a-week e-mail updates by filling in your address in the box on the right.
And if you ever need any entertaining or cooking advice, please don't hesitate to e-mail me.
Thanks for reading!
Salted Honey Butter Caramels
Makes about 60-75 individual pieces
Ingredients
6 tablespoons unsalted butter (plus a bit more for greasing the pan)
1.5 cups heavy cream
2 cups granulated white sugar
3/4 cup honey
2 heaping teaspoons Kosher salt
Special equipment: 9" square baking pan, candy thermometer, heavy pot or saucepan
1. Butter a 9" square baking pan well and set aside. Combine the butter, cream, sugar, honey, and salt in a heavy saucepan or skillet (I used my Dutch oven) and place of medium heat. Stir gently until the butter melts and sugar dissolves.
2. Let the sugar continue to cook, stirring it every so often (doesn't have to be continuous), until it darkens to a golden brown and the thermometer reads 245 degrees F. (This will take about 30-45 minutes or so, possibly longer depending on your stove and the size/type of pot you use; note that the temperature MUST reach 245 before you can pour the caramel out of the pot or it won't set)
3. Gently pour the caramel into the prepared pan and let cool at room temperature for about an hour or two until it is set and cool to the touch.
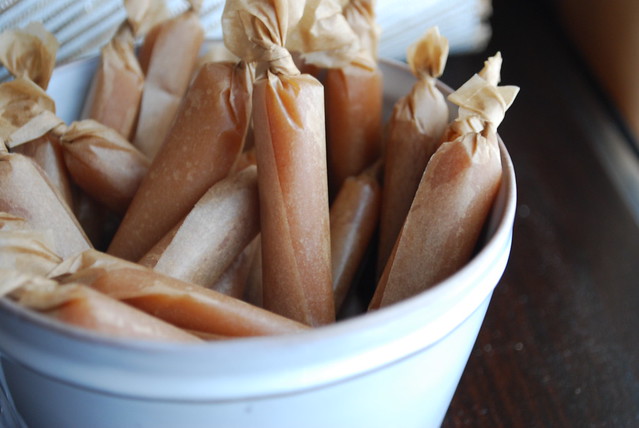
4. Use a spatula to release the sides of the caramel (it will be buttery) and flip out the slab of candy onto a cookie sheet. Use clean kitchen shears or a sharp knife to cut into small rectangles or cubes. Wrap each piece in parchment paper or wax paper.
Store at room temperature for up to a week or two (if they last that long), although I've found that these are best eaten within 2-3 days as temperature fluctuations in your home can make them a bit grainy. Note that these can also be refrigerated for weeks at a time.


No comments
Hi there and thank you for reading! This blog is not currently active, so new questions are not being monitored. Please enjoy the archives.
Note: Only a member of this blog may post a comment.