Showing posts with label Dairy-free. Show all posts

Top 10 Flavor Trends on Pinterest (+ delicious ways to eat them!)

I'm endlessly fascinated by the way food trends and flavors change from year to year, and even from month to month. As someone who is constantly cooking and experimenting, I love seeing how quickly new flavors and ingredients can go from super niche to practically ubiquitous.

I recently attended an event hosted by Pinterest at the Museum of Food and Drink here in New York where they announced their 2016 Pinsights Flavor Report--a round-up of trending flavors, ingredients, and pairings that are rocking everyone's worlds (and mouths!) right now.

Read on for those top ten flavor trends (plus some recipes to get you inspired to give each one a try!)
0

Creamy Avocado Mint Pasta

avocado pasta
I have thrown away far too many overripe avocados in my life. I feel bad about this, but it happens. I've come to terms with it. Just like retail outlets build a theft loss into their budgets, I build in an avocado loss.

Because the thing with avocados is that they exist on their own schedule. You can't rush them, and when they're ready, you'd better be freaking ready, too.

It's like giving birth.

(I'm assuming based on things I've seen on television.)

avocado pasta sauce ingredients
I eat avocado almost every single day. I've recently fallen in love with these little avocados called Gator Eggs. They're small--about half the size of a regular Hass avocado, and the perfect little single serving. They sell them in packs of six, and usually ripen beautifully one or two at a time, so I can get through a whole week of them.

But this week, the alligator eggs were *not* cooperating. I was waiting and waiting and waiting, but they were all rock hard, until suddenly they were all ready. All of them. AT THE SAME TIME!

And I panicked because it was late and I needed a quick way to use them all up. I knew that even waiting until morning could be too long. [Again...like childbirth? Maybe? I probably should stop with this analogy I know nothing about.]

avocado pasta sauce
Anyway, this pasta. A creamy sauce with hints of fresh mint and spice from garlic and red chiles. Eugene loved this stuff. He called it guacamole pasta, but I think the mint makes it less guacamole-ish than actual guacamole.

It's creamy, it's dairy-free, and it's very, very good.

Give it a try soon, because time and tide and avocados and babies-about-to-be-born [I assume] wait for no [wo]man.

Disclaimer: please note that despite all the childbirth references above, the only thing I'm pregnant with is ideas.

avocado mint pasta

****
Love Always Order Dessert?
Let's connect! Follow me on Twitter, Instagram, or Pinterest, become a fan on Facebook, or sign up to receive my once-a-week e-mail updates. And if you ever need any entertaining or cooking advice, please don't hesitate to e-mail me. Thanks for reading!   


Creamy Avocado Mint Pasta
Serves 2-4

Ingredients
1/2 pound small shaped pasta (such as penne or orrechiette)
2 ripe avocados
3/4 cup fresh mint leaves, rinsed and patted dry
2 large cloves garlic, peeled
1 large lime, juiced
1/3 cup extra virgin olive oil
1/3 cup warm water
1/2 teaspoon red chile flakes (optional)
Kosher salt to taste

Directions
Bring 4 quarts of salted water to a boil, and cook pasta according to package timing for "al dente."

While the pasta cooks, prepare the sauce: In a food processor or blender, combine the avocados, mint, garlic, lime juice, olive oil, water, and chile flakes, if using. Puree until very smooth, adding a tiny bit more warm water a tablespoon at a time if it is too thick. You're looking for a sauce with the consistency of a loose mayonnaise.

Season with kosher salt and puree again to combine evenly.

Add the sauce to the cooked and drained hot pasta and toss to coat. Divide into plates and garnish with a bit of fresh mint and a pinch of chile flakes.
0

Giant Flourless Chocolate Cashew Muffins

While I'm not making any specific promises, you should know that there is a chance that these Giant Flourless Chocolate Cashew Muffins might help you live forever.

Here's the story:

A couple months ago, Eugene read a story in the news about a new Harvard study that showed that people who eat a handful of nuts a day live longer than those who don't. The report said that for the benefits to work, one has to eat a serving of nuts at least 7 times a week.

We conjectured that since a handful of nuts can help you live longer; eating MORE than a handful will probably make us live forever. We're already big nut eaters in this household, but since then, it's become something of a slightly-morbid joke for us.

Anytime one of us wants a snack or just happens to eat something with nuts, we'll say "Eating nuts--going to live forever!" Or "I ate more nuts than you today; you better catch up so you don't die."

We also chase Hudson around and feed him almonds and hazelnuts so that he can live forever, too.

(He loves nuts, so he's a fan of this game.)

With this (admittedly flawed) theory in mind, I created these delicious muffins so that we can all live forever in delicious style!

These muffins are made with no flour or refined sugar. The base is cashew butter, which you can make by finely grinding cashews until it turns into a smooth, buttery paste (you can also buy it, of course!).  This is mixed with eggs, cocoa, maple syrup, a little vanilla, salt, and baking soda, and then baked into giant puffy muffins.

I love to make these in giant muffin pan (that holds 6 instead of the usual 12) for a fabulous oversized muffin (for maximum live-forever-properties, you see), but you can also make it in a regular muffin tin or even a loaf pan.

These are fantastic on their own or warmed slightly and spread with butter. They keep well for a few days (thanks to those glorious life-giving nuts!), but can also be made and frozen.

Enjoy these muffins. I'll see you in a 100 years!


****
Love Always Order Dessert? Let's connect! Follow me on Twitter or Pinterest, become a fan on Facebook, or sign up to receive my once-a-week e-mail updates. And if you ever need any entertaining or cooking advice, please don't hesitate to e-mail me. Thanks for reading!      


Giant Flourless Chocolate Cashew Muffins
Makes 6 giant muffins (or 12 regular muffins)

Ingredients
1 1/2 cups smooth cashew butter (substitute almond, pecan or other nut butter, but make sure it's a very smoothly ground butter--nothing course or crunchy), slightly warmed until easily stir-able
5 large eggs
2/3 cup maple syrup (substitute honey; do not use agave)
2/3 cup unsweetened cocoa powder, sifted
1 tablespoon vanilla extract
1 teaspoon kosher salt
1 teaspoon baking soda

Directions
Preheat oven 350 degrees. Grease an extra-large muffin tin (or use a regular muffin tin).

Beat together cashew butter and eggs with an electric mixer until smooth and fluffy (about 5 minutes). Beat in maple syrup, cocoa powder, vanilla, salt, and baking soda. Mixture will be smooth, thick, and glossy (like a brownie batter).

Divide batter into prepared muffin tin. Bake 15-20 minutes, or until puffed up and cracked on top. A tester inserted into the center should come out clean. Remove from oven and let cool in pan about 5 minutes, then transfer to a cooling rack.


0

Spiced Sweet Potato Juice

I know. This sounds so weird.  Spiced Sweet Potato Juice?!

But it is SO delicious. Creamy, sweet, nutty, spicy. I can't express to you just how much I love this stuff. It's like dessert, but it's a fresh-pressed juice, and it's my new favorite breakfast treat.

I got the idea while reading one of my favorite food blogs, The Little Red House. If you haven't checked it out, go and do it now! It's a gorgeous site with simple recipes and stunning photographs. Lovely lovely.

She regularly posts recipes for homemade fruit and vegetable juices, and a recent recipe for a Sweet Potato Pear juice caught my eye.

Before this, I'd never realized that it was TOTALLY OK to both drink and eat raw sweet potatoes.

Seriously!

While I've yet to try the raw sweet potato sticks, I was excited to give the juice a try. I personally like to avoid fruit juice, so I skipped the pear and instead added fresh ginger, a bit of vanilla extract, and increased the almond milk.

I suppose this is more like a smoothie or a flavored nut milk, than a juice. Maybe a mix of both? Call it what you will, but it's fantastic.

You definitely need a juicer for this (a blender will not work)--I was surprised by how much juice I got out of one large sweet potato.

Then you simply mix the fresh sweet potato and ginger juices with the almond milk, chia seeds, ground cinnamon, and vanilla. The sweet potato provided enough sweetness for me, but if you'd like, you can also add a teaspoon of something like maple syrup, honey, or rice malt syrup too.

The natural starches in the potato make this a really creamy drink, and the chia seeds also thicken it up a bit. I love this for breakfast those mornings when I just really don't want any food, but still need...something.

Have you ever had raw sweet potato before? Let me know if you try this, and what you think. I suspect you'll be totally smitten like I was!

****
Love Always Order Dessert? Let's connect! Follow me on Twitter or Pinterest, become a fan on Facebook, or sign up to receive my once-a-week e-mail updates. And if you ever need any entertaining or cooking advice, please don't hesitate to e-mail me. Thanks for reading!  


Spiced Sweet Potato Juice
Serves 1

Ingredients
1 large raw sweet potato (about 10-14oz), washed but not peeled
1 2-inch piece of fresh ginger
1 cup almond milk (homemade or storebought)
1/2 teaspoon vanilla extract
2 teaspoons ground cinnamon
1 tablespoon chia seeds
Optional: your favorite sweetener like maple syrup, honey, etc. (I don't add any additional sweetener, but you may wish to.)

Directions
Juice the raw sweet potato (unpeeled) and the ginger. Pour the fresh juice into a large mason jar or a blender. Add the almond milk, vanilla, cinnamon, and chia seeds. Cover the jar and shake vigorously for 30 seconds. (Or process in blender to mix well.)

Pour into a large glass.

Optional: sweeten with honey, maple syrup, or your choice of sweetener, to taste. 

0

How To Make Homemade Coconut Milk (from a fresh coconut!)

Coconut milk is one of my favorite ingredients. I usually buy it in bulk and use it in everything from smoothies and desserts to savory recipes like curry or light broths. Even though I use it, I admit that I'm not really a fan of the funky additives you can find in store-bought coconut milks. I bought an extra coconut the other day to use in a photo shoot, and while wondering what to do with it, I remembered my mom telling me stories about how my grandmother used to make coconut milk from scratch to use in her Puerto Rican dessert recipes.

It's a really easy process and takes mere minutes--especially now that we have access to the beautiful modern convenience that is the food processor. The results are especially lovely, with a strong and natural coconut flavor and aroma that is much different from the canned version.

NOTE: In this post I'll show you how to make the milk starting with a whole coconut, but you can also skip ahead and use a bag of unsweetened dried coconut, then begin from the food processor step!

Here's how you do it:

Start off with a fresh coconut. You want to use the brown "mature" coconuts, not the "young Thai" version. Choose a coconut that feels heavy for its size. You should also be able to hear the liquid sloshing around inside when you shake it. Also be sure to test the "eyes" by pressing on them; they should be hard without any give.

Once home, use a nail or screw to break through the eyes and drain out all the water inside--reserve this as you'll be using it in the recipe. You can then break the coconut open and remove the hard hairy brown outer shell. (Here is a great tutorial on how to open a coconut.)

The meat on the inside should be white with no yellow or moldy spots. Use a vegetable peeler to remove and discard the thin brown skin and cut the peeled meat into small chunks.

Combine the chunks of coconut in a food processor with the reserved coconut water plus two cups of boiling filtered water. (You can also use a strong blender or Vitamix for this step. No "Magic Bullets," please!) It's important that the water be very hot as that will help extract as much fat as possible from the coconut meat.

Puree the coconut and water for about 5 minutes. The coconut meat should be finely ground and frothy once ready.

Pour this into a fine sieve or a colander lined with a cheesecloth set over a large bowl.

Press down hard with a spatula or the back of a spoon to squeeze out all the liquid (I also just use my hands).

Once you have removed all the liquid, set the sieve with the shredded coconut aside (you can use this as-is in baking recipes or dry it to make homemade coconut flour).

The leftover liquid is your homemade coconut milk! You should have about 2 1/2 cups or so, depending on how moist your coconut was.

Use it right away, if desired, or transfer to a jar and store in the refrigerator for up to 3 days. Note that the lack of additives or emulsifiers will also mean that the coconut milk will separate in the fridge with the fat solidifying on top--this is a good thing! It's natural! You can heat it up slightly and stir it back together to use or just pop in a blender to emulsify into a creamy milk again.

And remember: Don't have a fresh coconut? You can also make coconut milk using frozen coconut or shredded dried coconut (the unsweetened kind) and follow the process from the food processor step.

****
New to Always Order Dessert? Consider subscribing to my newsletter, follow me on Twitter, become a fan on Facebook, or sign up to receive my once-a-week e-mail updates by filling in your address in the box on the right. If you're in the NYC area, be sure to check out my NYC dinner party style cooking classes. Thanks for reading!


0

Vegan Carrot Cake Cookies

One of the women at the entrepreneur retreat I co-hosted in Vermont this past weekend was vegan, so when I was putting together my menu, I wanted to make sure I had one egg-free, dairy-free, vegan dessert recipe up my sleeve. After hunting around, I came across a recipe for carrot oatmeal cookies by Heidi of the blog 101 Cookbooks. Using that recipe as a base, I tweaked it to create a kind of spiced carrot cake cookie. Soft, with just a little bit of crunch on top, it's a nice treat regardless of whether or not you're vegan!

I based the flavor of the cookie on the flavors I use in my favorite carrot cake recipe, adding plenty of fresh ginger, pure vanilla extract, orange zest, cardamom, cinnamon, and allspice. The fat in the cookie is virgin coconut oil, which also adds a hint of sweetness (though if you don't have any on hand, olive oil would also work very well in this).

Like Heidi, I used real maple syrup to sweeten these, which keeps them from being too sweet. All in all, it's a perfect cookie to enjoy with tea or perhaps some warm apple cider. Actually, this cookie is packed with so many wholesome ingredients, you could probably get away with having a couple for breakfast as a treat!

*****
Did you enjoy this post? Be sure to share it with your friends on Facebook, Stumble, and Twitter! Consider subscribing to my RSS feed, follow me on Twitter (@nandita), become a fan on Facebook, or sign up to receive my once-a-week e-mail updates by filling in your address in the box on the right.

And if you ever need any entertaining or cooking advice, please don't hesitate to
e-mail me. Thanks for reading!  


Vegan Carrot Cake Cookies
Adapted from a recipe by 101 Cookbooks. Makes about 2 dozen cookies

Print this Recipe

Ingredients
1 cup all-purpose flour
1 teaspoon baking powder
1 teaspoon kosher salt
1 cup rolled oats (not instant)
1 rounded tablespoon ground cinnamon (Vietnamese, if you have it)
1/2 teaspoon ground nutmeg
1/2 teaspoon ground cardamom
1 teaspoon finely grated fresh ginger
Zest of 1/2 naval orange
1 cup shredded carrots
1/2 cup real maple syrup
1/2 cup virgin coconut oil, melted (substitute olive oil, if desired)
1 teaspoon pure vanilla extract

Directions
Preheat oven to 375 degrees and line 2 baking sheets with parchment paper or a silpat.

In a large bowl, whisk together the flour, baking powder, salt, oats, cinnamon, nutmeg, and cardamom. Add the fresh ginger, orange zest, and grated carrots, and mix until evenly combined and distributed. Pour in the maple syrup, coconut oil, and vanilla extract, and stir just until completely combined.

Drop onto prepared baking sheets in about 2 tablespoon sized amounts, leaving about 2 inches between each cookie. Bake for 10-12 minutes, or until the cookies are golden. Transfer to a cooling rack and let cool completely before serving.  
0

Creamy Nutella Milk (Dairy Free Chocolate Hazelnut Milk)

While cleaning out my freezer the other day, I found a bag of raw hazelnuts leftover from a homemade condiments cooking class I taught a couple months ago. We had used some of them to make homemade nutella, and I had packed away the leftovers for  a future project that I never quite got around to.

While looking at them, I suddenly got the idea to make a homemade nut milk with hazelnuts as the base and raw cocoa nibs, cocoa powder, and maple syrup as flavoring. Essentially, a kind of "nutella milk" that could be enjoyed for breakfast or as a dessert.

Making homemade nut milks is a simple process. (You may have already tried my homemade pecan milk recipe, which is similar to this one.) The nuts are soaked in water for anywhere from 8 to 24 hours, during which they will swell up and soften. This step can be frustrating if, like me, you prefer instant gratification when it comes to recipes, but it is necessary and actually much better for your digestive system.

Some people find that they have trouble digesting raw nuts. The reason for this is that all nuts (and seeds) naturally contain high amounts of enzyme inhibitors that are designed to keep the nuts from sprouting prematurely. In nature this makes sense because it gives the squirrel a chance to run off with the nut so that it can then sprout elsewhere. But it can wreak havoc on the digestive system and also make it more difficult for your body to absorb all the good nutrients in the nuts.

Soaking nuts in warm water with a touch of salt help combat this by neutralizing the enzyme inhibitors and simultaneously promoting the development of new and beneficial enzymes. Essentially, by soaking them, you're giving the nuts a head start so that when you finally consume them, you're body won't have to work as hard to break them down. Soaking the nuts also makes them softer, which will make it possible to puree the nut milk as thoroughly as possible, making for a really rich final drink. This is actually a very traditional way of preparing nuts, seeds, and grains, and one which has been followed for thousands of years.

For the chocolate element in my nut milk, I used a combination of raw cacoa nibs and unsweetened cocoa powder. I liked the layers of flavor using both added, but if you don't have--or can't find--one or the other, you can just use all of either kind. I also added a tiny bit of vanilla extract and a pinch of salt to balance out the flavors. Sweetener is totally optional, but I like how it worked. I chose to use some dark Grade B maple syrup and was thrilled with the way it tasted. Honey, stevia, or regular sugar would also work.

The finished milk keeps for about 3-4 days in the refrigerator. I store mine in a glass mason jar and shake it up well before pouring into my glasses (the solids in the milk tend to settle after it's been sitting for a few hours). You can also freeze a portion of this to consume later, if you'd like.

A nut milk bag or thin muslin bag is very useful for straining the milk, but I actually just use a fine sieve layered with some cheesecloth. In a pinch, I've also layered a colander with paper towels. Clean (preferably nude to avoid leeching of dyes) pantyhose also work.

I've been enjoying a large glass of this for breakfast with a little sprinkle of cinnamon on top. It's also great in coffee or tea, and can be heated up for a cozy nighttime beverage on a cold night.


****
Love Always Order Dessert?
Let's connect! Follow me on Twitter, Instagram, or Pinterest, become a fan on Facebook, or sign up to receive my once-a-week e-mail updates. And if you ever need any entertaining or cooking advice, please don't hesitate to e-mail me. Thanks for reading!    


Creamy Chocolate Hazelnut Milk (Dairy Free)
Makes about 4-5 cups

Print this Recipe

Ingredients
3-4 cups warm filtered water (for soaking)
1 tablespoon sea salt (if you can get it, use celtic sea salt)
2 cups raw hazelnuts (skin on or off is fine)
4 cups cold filtered water
1/2 cup raw cacao nibs
3 tablespoons unsweetened cocoa powder (not Dutch process)
1 teaspoon pure vanilla extract
1/4 cup pure maple syrup
sea salt

Directions
First soak the nuts: Combine the 4 cups warm water and sea salt, stirring until the salt is dissolved. Add the raw hazelnuts, making sure the nuts are covered with water completely. If necessary, add more water. Cover and let soak at room temperature for at least 8 hours and up to 24.

Drain the nuts and rinse with cool water. Proceed with recipe.

Prepare a fine sieve or colander by lining with cheesecloth and placing it over a large bowl. If you have a nut milk bag, use that.

In a large blender, combine the soaked hazelnuts with 4 cups of fresh filtered water (not the same water you used for soaking), the cacao nibs, cocoa powder, vanilla extract, and maple syrup. Puree in the blender until completely smooth (about 1-3 minutes on a standard blender; less if you have a high-speed blender like a VitaMix).

Pour the pureed mixture through the sieve, using a spoon to push the liquid through. Strain well, squeezing the cheesecloth at the end to expel all the liquid. TIP: reserve the nut and cocoa pulp to add to baking recipes or for making crackers. I keep mine in my freezer and add to banana bread, muffins, or pancake batter.

Taste and add additional sea salt or maple syrup, if desired. Transfer to a glass jar and store in the refrigerator for up to 4 days.
0

Chocolate Banana Nut Smoothies

DSC_0623 I admit that when I was working in an office, I didn't always eat breakfast. As a night person who regularly waits until 10 or 11PM to get started on some projects, mornings have never been my favorite. I have no problem staying up all night if I'm feeling a burst of creative productivity, but that usually means that my mornings then become a sleepy rush of trying to get showered, dressed, packed, and out the door in time to catch the train. Breakfast rarely happened.

Now that I make my own schedule, life is a lot better. The two to three hours that I previously used to lose on waking up, getting ready, commuting, dealing with general office morning nonsense, are now pared down to the essentials. I wake up easily, excited about the day and the projects ahead.

And yet, despite the ease, I noticed that breakfast still hasn't made it into the routine. I'm almost too excited to eat in mornings--too eager to start writing, researching, planning. It's an amazing feeling knowing that I'm passionate about everything I have to do, but even so I have to force myself to slow down a bit. Last week I realized that I'd often hit 2pm without eating at all.  Awful, right? Strange to sit here reading and writing about food, when I haven't even consumed anything yet.

So I started making myself juices and smoothies--nothing too fancy, just bananas, almond milk, unsweetened peanut butter, and cocoa. A lot of cocoa. A touch of honey. The combination is thick, filling, and comforting, and it gives me the energy I need to stay focused and get through the morning.

This batch makes enough for a few mornings (or to share!).


Chocolate Banana Nut Smoothies
Serves 4

Ingredients
2 bananas, peeled (I like to peel my bananas in advance and freeze them to make a cold and frothy drink)
4 cups unsweetened almond milk (you can also use regular whole milk or rice milk)
1/3 cup natural peanut butter (unsweetened)
1/3 cup + 2 tablespoons unsweetened cocoa powder
2 tablespoons honey
1 pinch celtic sea salt (optional)

Directions
Combine all ingredients in a blender or food processor and blend until smooth. Serve immediately or store in an air-tight glass jar in the fridge for up to 5 days (you may need to whisk quickly with a fork before pouring if storing in the fridge).
0

Homemade Pecan Milk


I am so impatient. Really. I have the hardest time making things that actually require me to start the day ahead. Mostly because I only realize this right at that moment when I'm going to start my baking (it's usually baking) and read that the first step requires something to sit or soak or proof or whatever overnight.

Overnight?! No way! Because when I bake it's because I want cake or bread now, or at least 2 or 3 hours from now, but definitely not tomorrow.

This is why I never make sourdough, and why I shamelessly dropped out of the Bread Baker's Apprentice challenge before the first week even finished. Forget proofing, I'm more than happy with challah, which everybody knows is Jewish for "The World's Most Perfect and Delicious Bread," and which I (and you too!) can make, start-to-finish, in less time than it takes me to watch Forrest Gump for the 87th time on AMC.

And yet, despite all these truths, I'm about to share with you a recipe that you won't be able to taste until tomorrow. Or at least until very, very late tonight. I know. I'm awful, but read on...
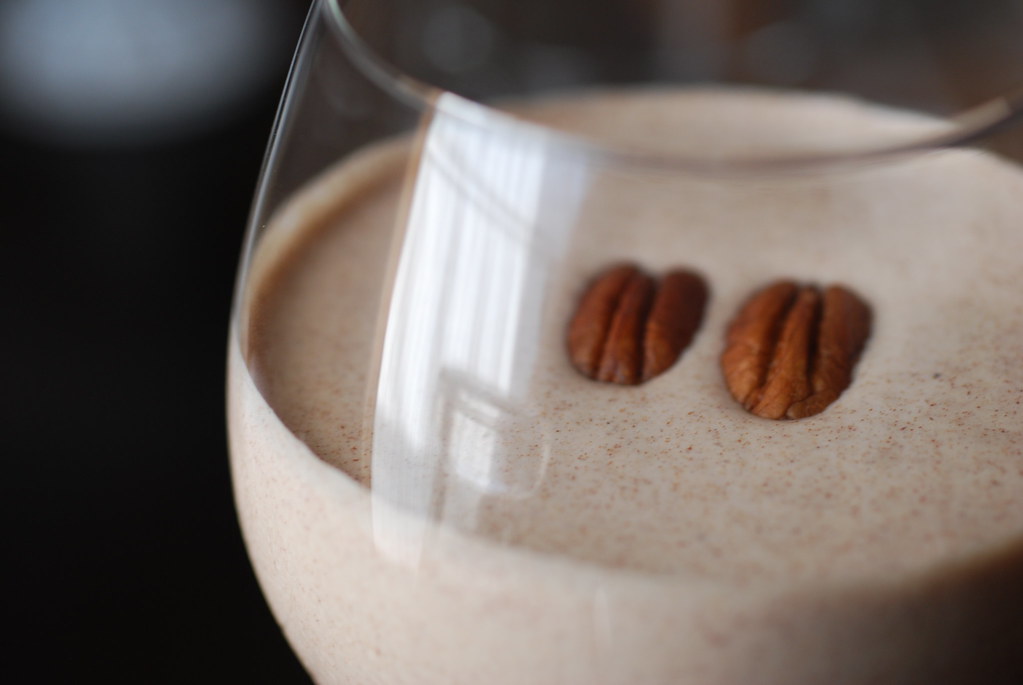

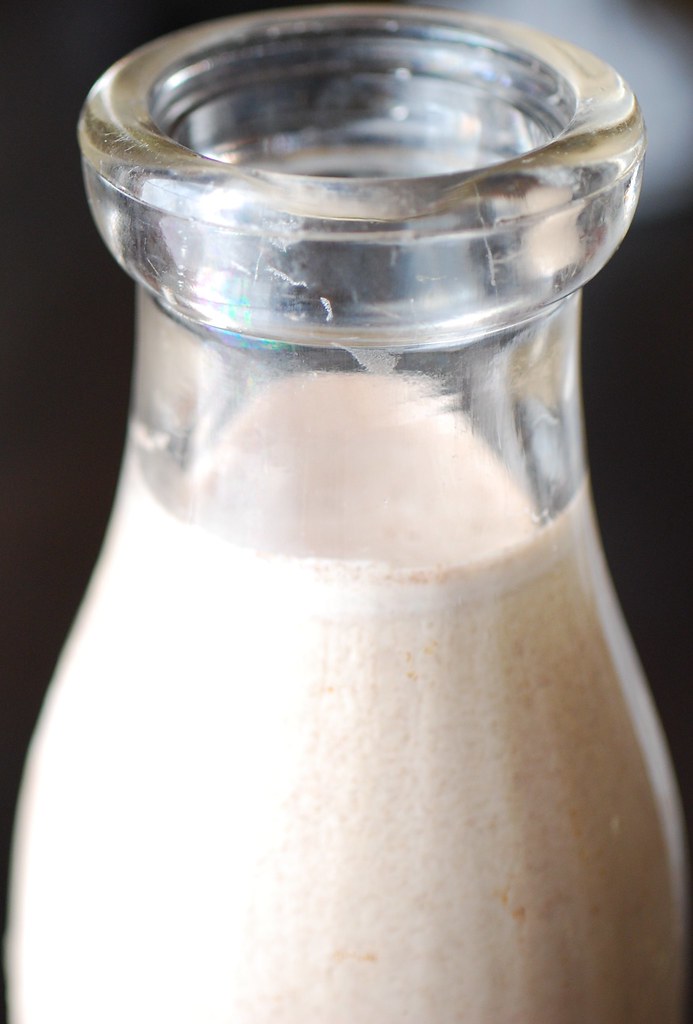
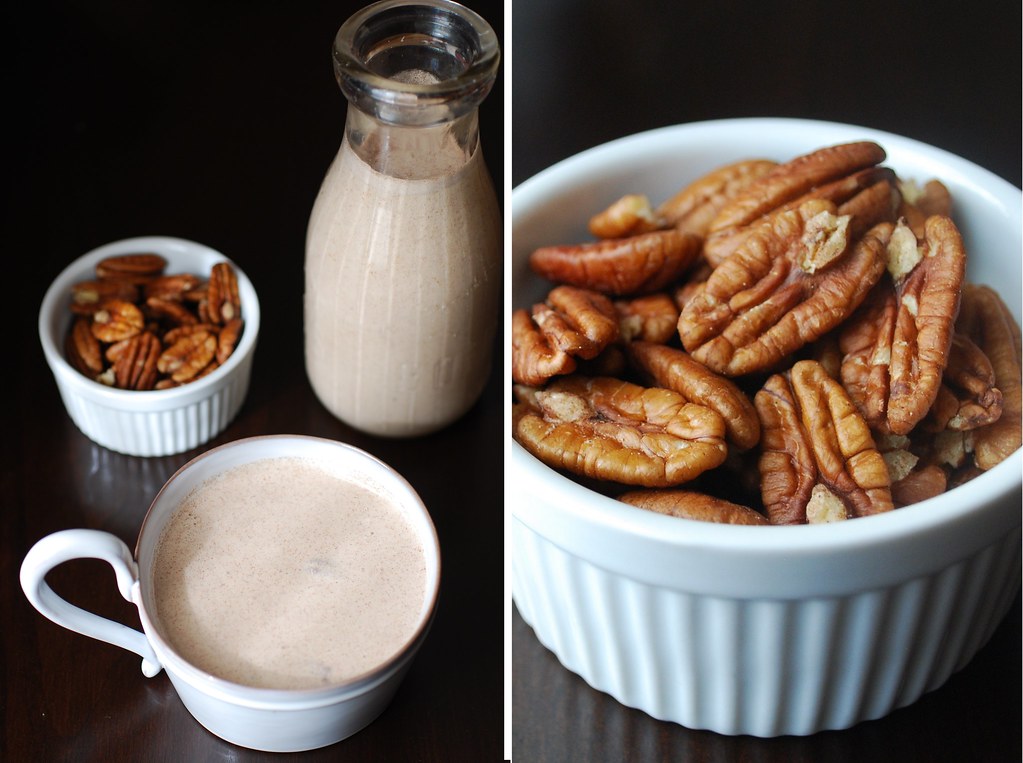
So the recipe is for homemade Pecan Milk, which is a dairy-free "milk" similar to almond or rice milk, but better. Better because it's lusciously creamy and tastes kind of like an amazing nutty milkshake, except that it's actually healthy. According to ILovePecans.org (that's an actual website although I suspect it *might* be a little biased), pecans contain more than 19 vitamins and minerals -- including vitamin A, vitamin E, folic acid, calcium, magnesium, phosphorus, potassium, several B vitamins and zinc. They're also a great source of fiber, and have been shown to control weight and possibly even prevent heart attacks.

So basically here I'm giving you a recipe for life-granting elixir. A life-granting elixir that tastes like a milkshake. Aren't I awesome?

You can drink pecan milk (aka life-granting elixir) straight, over ice, or even in your coffee in place of regular milk or soy milk. Pour it over your cereal. Warm it up and drink a big mug of it while sitting on your bed wearing pajamas and listening to your Kindle read you a bed-time story in her sexy robotic Kindle voice. It's the future, kids. And in the future we have talking paper and milk made out of nuts. And pajamas. It's like the Jetsons.

So the only problem that I see is trying to figure out what to do with the eight hours you have to let the nuts soak. You probably already have plenty of things to do, but if no, here are a few suggestions:

First, you should make this perfect for Fall Pumpkin Spice Challah.

That only took three hours, so now you should make this Vanilla Bean Challah so that you don't have to share the pumpkin one.

It's now been six hours and you're probably craving a little protein, so why not make yourself a bowl of this Pumpkin Chili.

And now it's time for the milkshake.

Oh and by the way, this recipe also works fantastically with cashews or, if you love luxury and want to lavishly celebrate the end of the recession, macadamia nuts. (Gasp!)

It's the future, kids. Enjoy it.
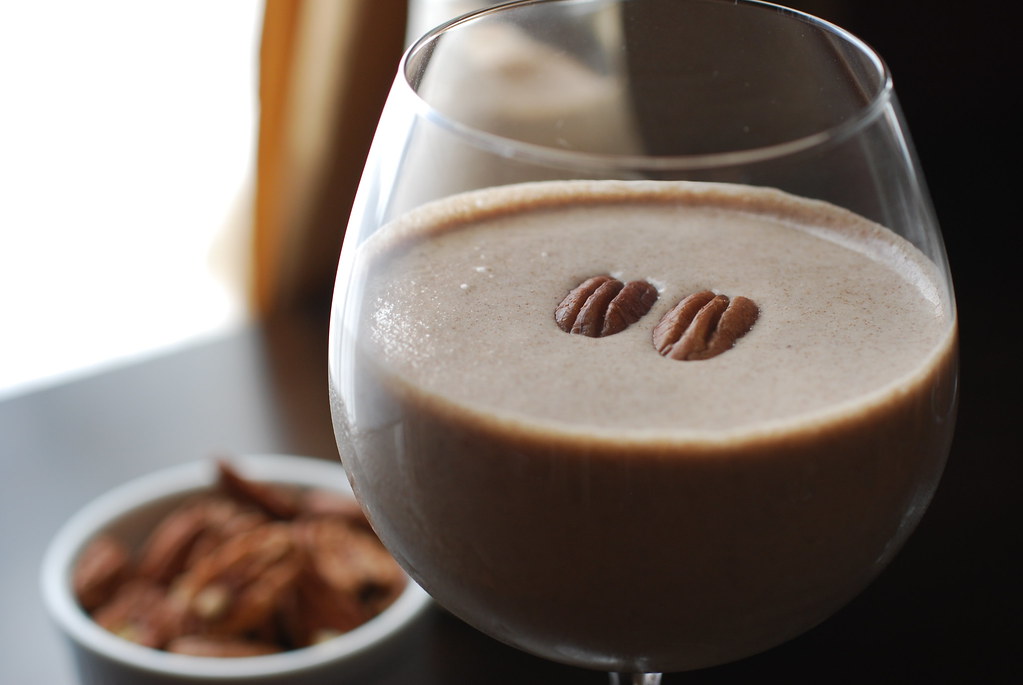


Pecan Milk


1 1/4 cups raw or roasted pecans (unsalted)
4 cups filtered or spring water
1/4 cup raw honey (can substitute maple syrup)
1/3 cup coconut milk
1 teaspoon ground cinnamon
1/4 teaspoon freshly grated nutmeg
1/2 teaspoon celtic sea salt (or Kosher salt)
Additional honey or sugar for sweetening.

1.)Combine the pecans, salt, and water in an air-tight container. Seal and leave to soak in the refrigerator for at least 8 hours or overnight.

2.) Pour the soaked pecans and the water mixture into a blender (note that the water will have turned slightly golden from the nuts). Add the honey, coconut milk, cinnamon, and nutmeg. Process on high for two minutes or until the mixture is well combined and smooth. Sweeten to taste and store in the refrigerator. This will last one week refrigerated in an air-tight container.

Note: If you'd like a smoother beverage, pour the pecan milk through a sieve lined with cheesecloth.


19
Back to Top